Have you ever wanted to make a custom letterhead to impress clients? Or, maybe you’ve decided to set up a home business? Either way, you don’t need to order from a printer or graphic designer. This easy tutorial will show you how to create a letterhead in Word without design skills.
I’ll be using Microsoft Word for this step-by-step tutorial, which is included in Microsoft 365 (Formerly Office 365). I’ve also done a Google Docs letterhead as well. As a bonus, you can use a letterhead when doing a mail merge.
The key to letterhead design is deciding what you want to display. Although creating the template is simple, you should do some planning. It helps to take a blank sheet of paper and sketch your design. Nothing fancy, as this is a mockup. This will help you choose the starting page header. The good news is once you grasp the power of templates, you can make changes or use different versions.
When creating your templates, you might consider using Quick Parts to add reusable assets to the Building Block Organizer. Then, you can easily find and insert those parts into other document areas.
The list of elements can vary based on whether you’re an individual, organization, or company. For example, if you’re doing a company letterhead, you might not have a slogan, or if you’re a law firm, you may not have social media addresses. To get you started, here are some visual elements to consider:
Once you’ve identified the items to include, you should determine their placement. For example, I split my elements between Microsoft’s Word header and footer.
Images or logos can improve the design and be impactful. But pictures can pose design problems. For example, you may find a great graphic, but your office printer doesn’t do it justice. This is because your printer’s capabilities aren’t good enough to display the image. And we all know how pictures differ when you’re running low on printer ink.
The flip side is when you have a superb printer, but the image file isn’t as good as it should be. This could result from reducing the image file size too much, so it appears pixelated.
Another issue is that the image you use has too much white space, so you need to crop or adjust the image. But, again, an image capture program like SnagIt can do crops and adjustments.
If you work for a company or organization, you should check if they have an identity or “style guide.” They often have approved graphics they can give you in the appropriate image size and file format. Just like templates, style guides can range from simple to complex. For example, HubSpot has an article that includes examples
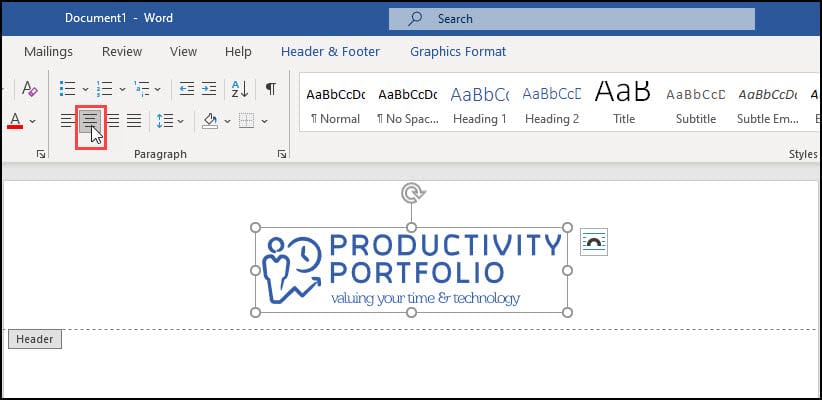
In this tutorial, I’ll create a simple template starting from a blank document. It shares some of the steps we used for our Cornell Notes template. The page header will have my site logo, and the page footer will have my postal address. And yes, Microsoft Word could handle my new logo, which is an SVG file .


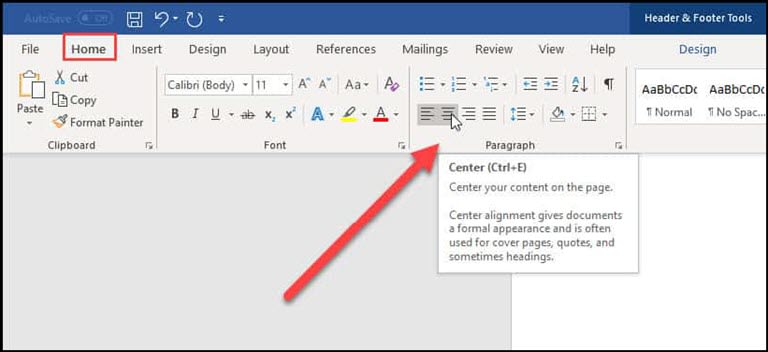
I include my address with a smaller font and a vertical line or pipe sign in the footer area. I also centered the text.


This is also a good time to print your custom letterhead to check any artwork’s color and clarity. Your online version may show colors that are muted but print fine. You may also need to adjust your printer settings if they are in draft or economical print mode.
If you need to edit the header or footer to get into design mode, double-click anywhere in the header or footer area. The small tab markers will show to the far left.
Aside from tweaking your header and footer, you may want to adjust other properties before saving the file. For example, you might change the margins, fonts, or style.

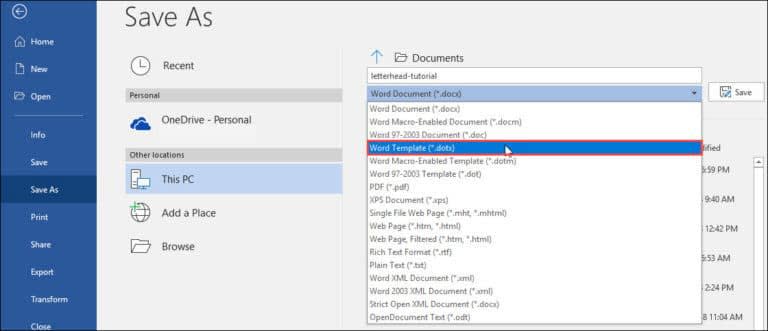
When you saved the template, Microsoft Word stored it in a templates folder. However, you can create a custom location if you prefer.
To use the letterhead template,

Microsoft stores your templates in a designated folder. You can find the location using these steps.
If you need to find the full file path, you can shift + right-click on the file name.
This 4-minute video was recorded using Microsoft Office 365. Click the image below to see the video page.
